Understanding Real Estate Photography
Real estate photography is an essential service in the competitive property market, where first impressions can make or break a sale. High-quality visuals can significantly enhance the appeal of a property, attracting potential buyers and increasing interest. This Real Estate Photography guide will explore the core concepts, techniques, and tools necessary for creating stunning property imagery.
What is Real Estate Photography?
Real estate photography refers to the specialized art of photographing properties—residential or commercial—with the intent of marketing them effectively. This genre of photography involves capturing the essence of a property while highlighting its unique features and potential. High-quality images can be instrumental in creating online listings, brochures, and advertisements, making them a crucial investment for real estate agents and property sellers.
The Importance of High-Quality Images
In today's digital age, high-quality images are paramount. Studies reveal that properties with professional photographs receive 61% more views than those with standard images. This emphasis on quality stems from buyers' tendency to form opinions based on visuals. Stunning photography can evoke emotions, trigger imagination, and help buyers visualize themselves in the space, which can ultimately lead to faster sales at higher prices.
Basic Terminology and Concepts
Understanding the terminology linked to real estate photography is vital for successful communication among photographers, agents, and clients. Key terms often include:
- HDR (High Dynamic Range): A technique that combines multiple exposures to capture a greater range of light and detail.
- Tilt-Shift Lens: A specialty lens used in real estate photography to correct perspective distortions.
- Wide-Angle Lens: A lens that captures a larger field of view, ideal for showcasing interiors.
- Post-Processing: The editing process following a shoot to enhance image quality and aesthetics.
Essential Equipment for Real Estate Photography
Camera Types and Recommendations
The backbone of any successful real estate photography setup is the camera. While many would argue that DSLRs and mirrorless cameras serve the best purposes, the choice ultimately depends on the photographer's proficiency and budget. Recommended entry-level cameras include:
- Cameras with at least 24 megapixels for clear detail.
- Interchangeable lens systems for versatility.
- Sensors that perform well in low-light conditions for evening shots.
Key Accessories to Enhance Your Shots
In addition to a robust camera body, several accessories can drastically improve the quality of property images. Essential accessories include:
- Tripod: Stabilizes the camera for long-exposure shots, maintaining sharpness.
- Remote Trigger: Prevents camera shake when taking photos.
- Lens Filters: Helps manage glare and enhance colors.
- Reflectors: Control and redirect natural light during shoots.
Lighting Equipment for Optimal Results
Lighting is fundamental in real estate photography, where poorly lit images can turn away prospective buyers. Investing in quality lighting gear such as softboxes, speedlights, and LED panels can dramatically improve photo quality. Moreover, understanding the value of natural light by shooting during golden hours—shortly after sunrise or before sunset—can yield captivating results.
Techniques to Capture Stunning Real Estate Photos
Mastering Compositions and Angles
Composition, or the arrangement of visual elements within a photograph, is crucial in real estate photography. Techniques like the Rule of Thirds, leading lines, and framing can enhance a viewer's experience. Experimentation with angles—shooting from corners to showcase a room's depth—can make spaces appear larger and more inviting.
Utilizing Natural Light Effectively
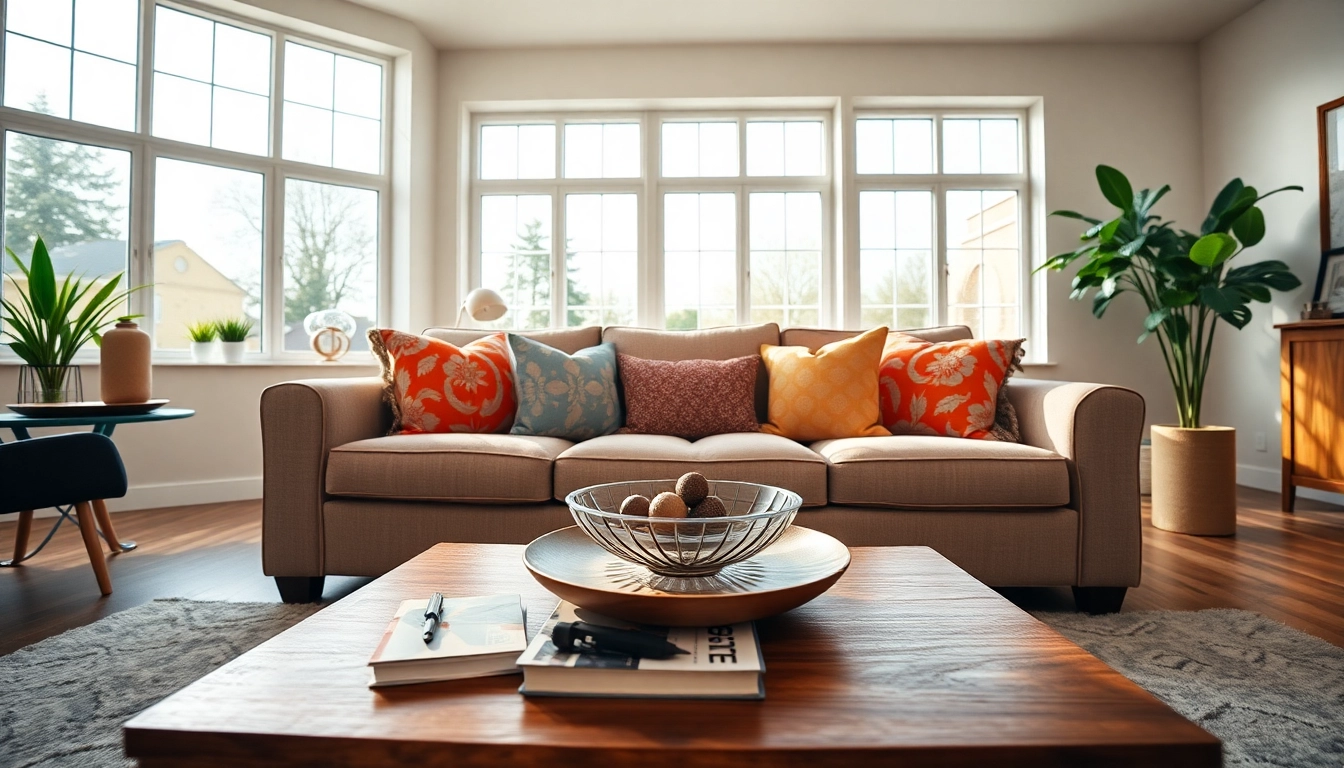
Mastering the use of natural light is essential. Wide-open windows during daytime can illuminate areas and create a warm, welcoming ambiance. Avoid harsh shadows and direct sunlight by shooting when the light is diffused. For interiors that lack natural light, consider using supplementary lighting sources to ensure every corner is adequately illuminated.
Post-Processing Tips for Flawless Images
Editing is where the final touches of a real estate photograph emerge. Using software like Adobe Lightroom or Photoshop, post-processing can enhance colors, adjust exposure, and apply sharpness. Creating presets for consistency across photos can streamline the workflow, and spending time on retouching can correct minor imperfections and maintain a professional appearance.
Common Mistakes to Avoid in Real Estate Photography
Poor Staging and Its Impact
Poor staging can turn potential buyers away. It's essential to remove clutter, depersonalize spaces, and ensure everything is tidy before capturing images. Highlighting key features through strategic arrangement can make a significant difference. Empty spaces should be approached thoughtfully, using furniture to evoke a sense of warmth and livability.
Neglecting the Importance of Lighting
Lighting can make or break a photograph. Capturing a property in inadequate lighting can lead to unappealing images. Always assess the lighting before a shoot and adjust settings to maximize brightness without washing out details. Avoid shooting in the middle of the day when shadows can create harsh contrasts.
Ignoring Post-Production Enhancements
Underestimating the power of post-production can lead to missed opportunities. Familiarity with editing software can enhance photo vibrancy, correct color issues, and ensure images are polished and professional. Even slight adjustments can radically alter the impression a photograph makes.
Marketing Your Real Estate Photography Services
Building a Solid Portfolio
A compelling portfolio is crucial in attracting clients. Potential customers want to see your skills and creativity. Include a variety of styles and settings showcasing your versatility. Additionally, consider creating before-and-after comparisons to display your post-processing expertise, providing clear proof of your skills.
Leveraging Social Media and Online Platforms
Utilizing social media platforms can significantly enhance your visibility and draw in new clients. Share your work on platforms like Instagram and Pinterest, where visuals reign supreme. Engaging with posts, using relevant hashtags, and collaborating with real estate agents can expand your audience and create leads.
Effective Pricing Strategies and Client Retention
Establishing competitive pricing is essential. Research industry standards to find a balance between affordability and the value of your work. Additionally, consider offering package deals for multiple shoots or referrals to foster loyalty and encourage repeat business, ensuring a steady stream of clients.
FAQs
What equipment do I need for real estate photography?
A camera with high resolution, a tripod, wide-angle lens, and good lighting accessories like softboxes or external flashes are essential.
How can I make a property look bigger in photos?
Shooting from corners, using wide-angle lenses, and ensuring the space is well-lit can help make properties appear larger and more inviting.
Is post-processing really necessary?
Yes, post-processing enhances image quality, corrects colors, and adds a professional touch, making images more appealing to potential buyers.
How do I find clients for real estate photography?
Utilize social media, build an engaging portfolio, network with real estate agents, and leverage online marketplaces dedicated to photography services.
What are common mistakes in real estate photography?
Poor staging, neglecting lighting issues, and inadequate post-processing are common mistakes that can detract from the quality of real estate photography.